
From my initial natural dyeing research, I had read that dyeing with avocado skins and stones are one of the easiest things to try to dye with as a beginner, plus I really liked the peachy/pink shades that they seem to produce.
I love avocado and often eat them for lunch so thought this would be a great starting point for me.
I decided that trying to clean the avocado skins would be too messy and I was concerned about them going mouldy if I didn’t use them in time so for now, I thought I would just experiment with the stones.
At this point, I would like to highly recommend two books on natural dyeing which really helped me to try out this process.
The first one is‘ Botanical Colour at your Fingertips’ by Rebecca Desnos and the second one is ‘Dyeing with Avocado’ by Alicia Hall of Botanical Threads.
They are available digitally and you can currently buy a paper copy of the Botanical Colour at your Fingertips book directly on Rebecca Desnos’s website.
Both books describe slightly different dyeing processes and I ended up doing a bit of a combination of the two for my own experiments.
All the fabric/yarn I used was pre-treated in soya milk then left for a least a week before I attempted dyeing them.
In the first dye batch I did, I used around 6 avocado stones. I used an aluminium pot as that is meant to help the mordanting process if using soya milk.
When extracting the dye after heating it in the pot, I made my first beginners mistake of not using a large enough bowl to sieve the liquid into and because I was sieving it through cheesecloth, I didn’t notice and a lot of the dye went down the sink!
I decided not to give up and work with the dye I had managed to get into the bowl.
I dyed some Fine Loomstate Organic Cotton Muslin that I had purchased from Greenfibres and the end result was this very light peach colour:
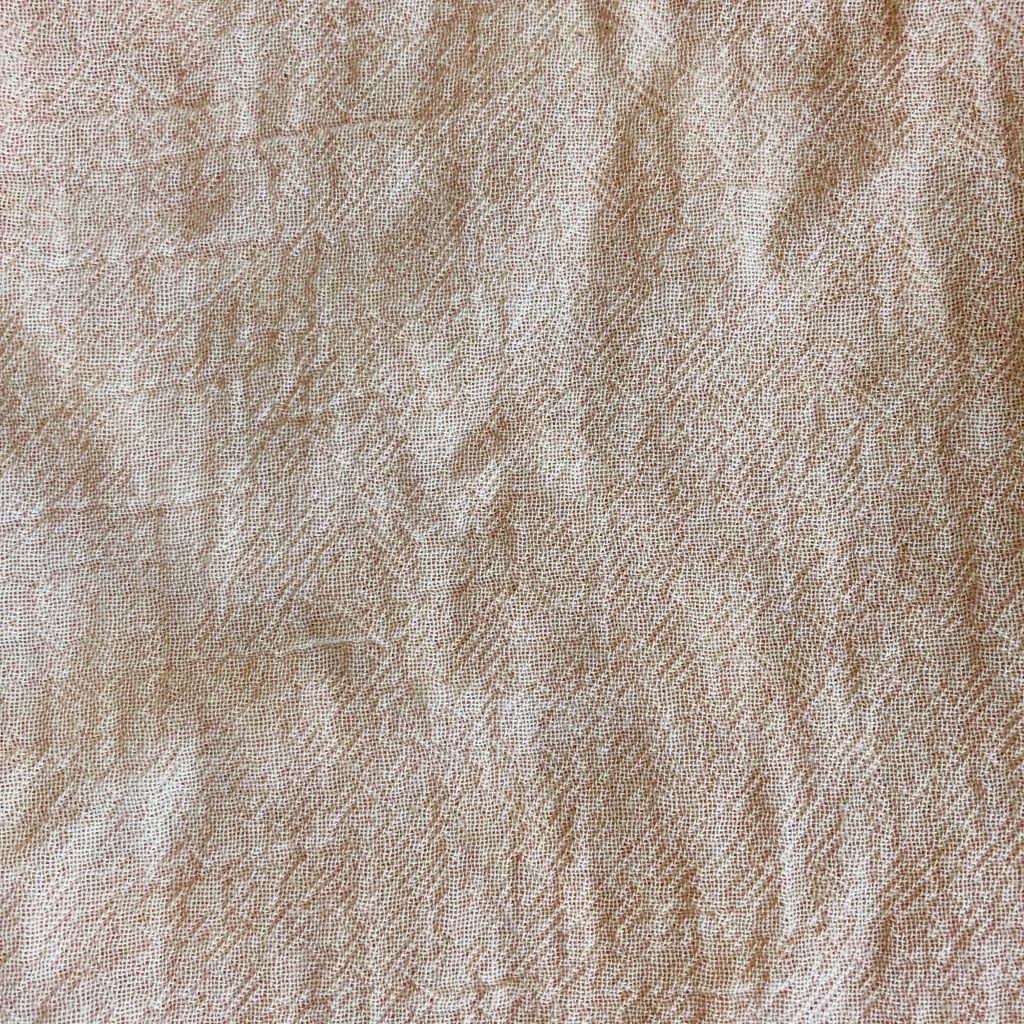
First of all, I was happy that a colour had managed to come out on it at all considering my mistake. I was also really happy that it had dyed evenly all over so I think I had used the right size pot for a metre of fabric. The pot size I used was 36cm (14″) and had a capacity of 16L.
Here is a link to the pot I purchased for my dyeing – https://www.ebay.co.uk/itm/Kitchen-King-Stock-Pots-Cooking-Boiling-Pans-Deep-Catering-Stockpots-Casserole/272486475074?hash=item3f7175a542:m:m1Ce-JXOLJPGLgPurRKIK_g
I also think doing the soya milk process first to the fabric helped with the even dyeing of the fabric.
I was very excited by the whole dyeing process and was keen to try out dyeing with avocado stones again.
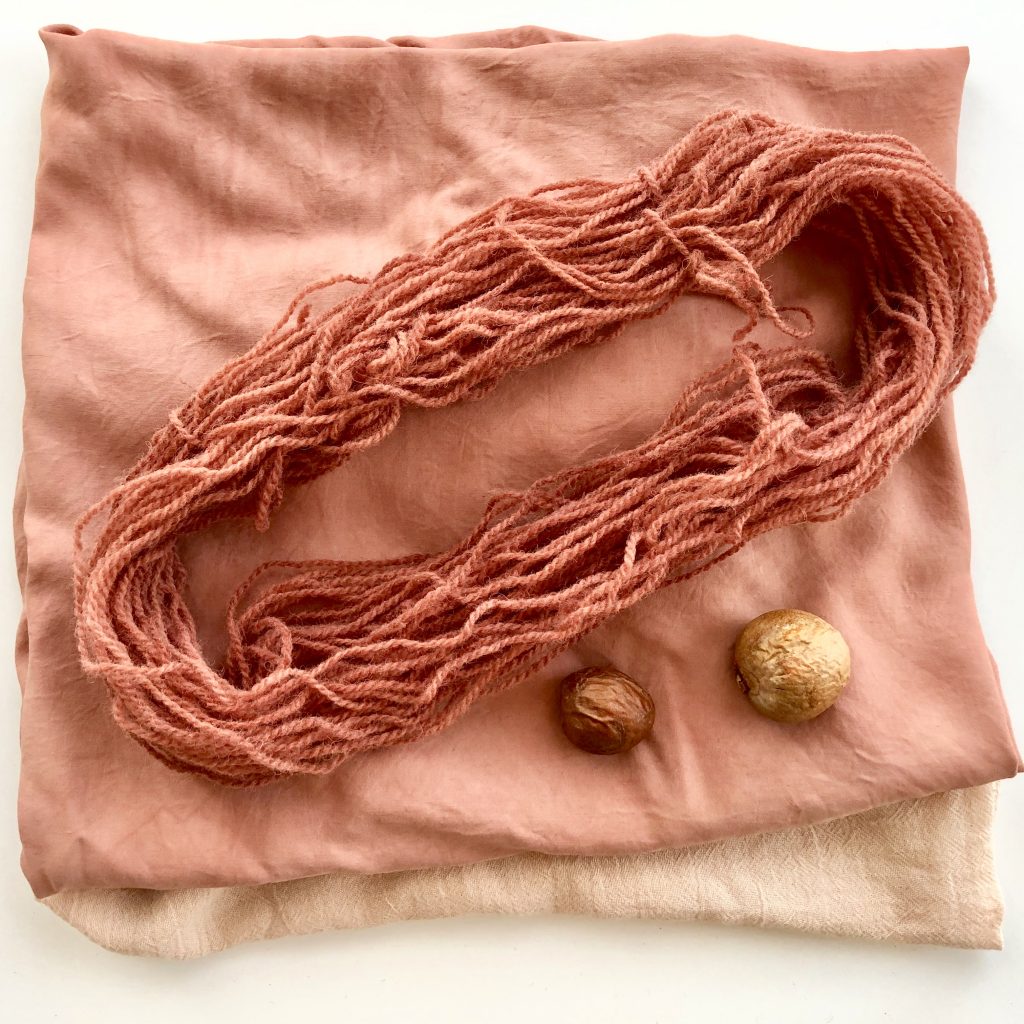
Next I wanted to dye with both fabric and some yarn. I had managed to save 8 avocado stones for my next dye pot. I also had a larger bowl prepared for extracting the dye so didn’t lose any of it this time.
When I had extracted the dye, I noticed that there was still some colour left to extract from the mushed stones which were left, so I re-heated all the dye with the mushed stones and repeated the whole process again.
Once I had done that, I was happy with the colour of the dye and ready to add my fabric and yarn:
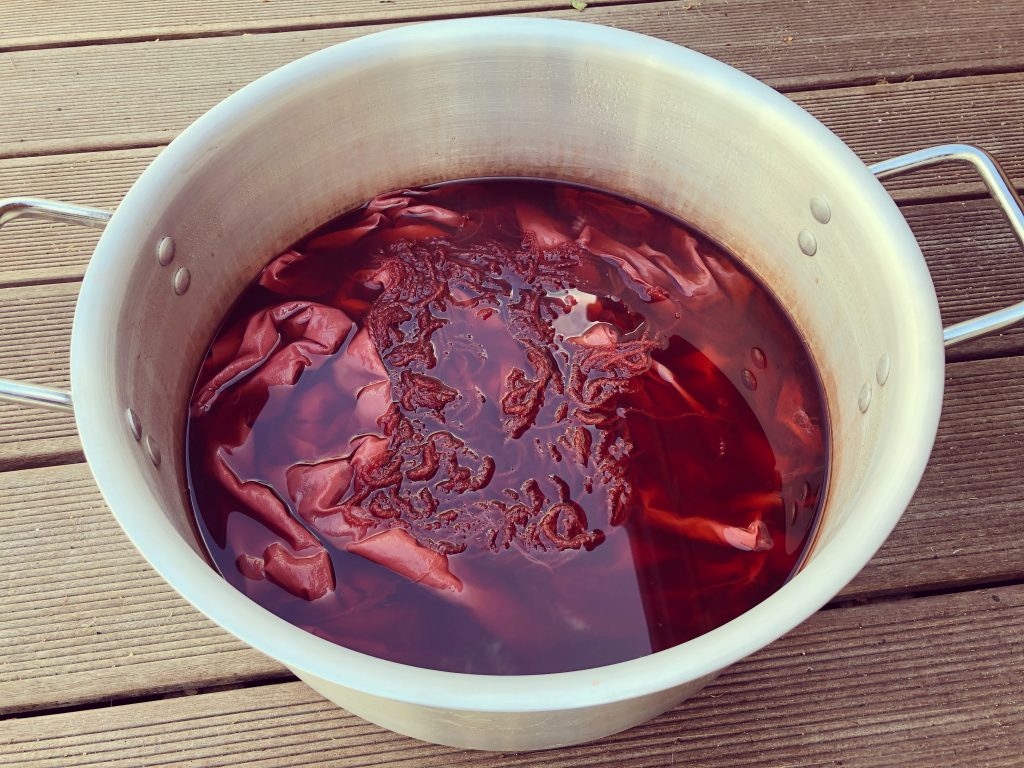
After initially heating the fabric and yarn in the dye for approximately an hour and a half, I then left them in the pot for around three days.
Here is the fabric after I removed it from the dye pot and hung it outside to dry in the shade:
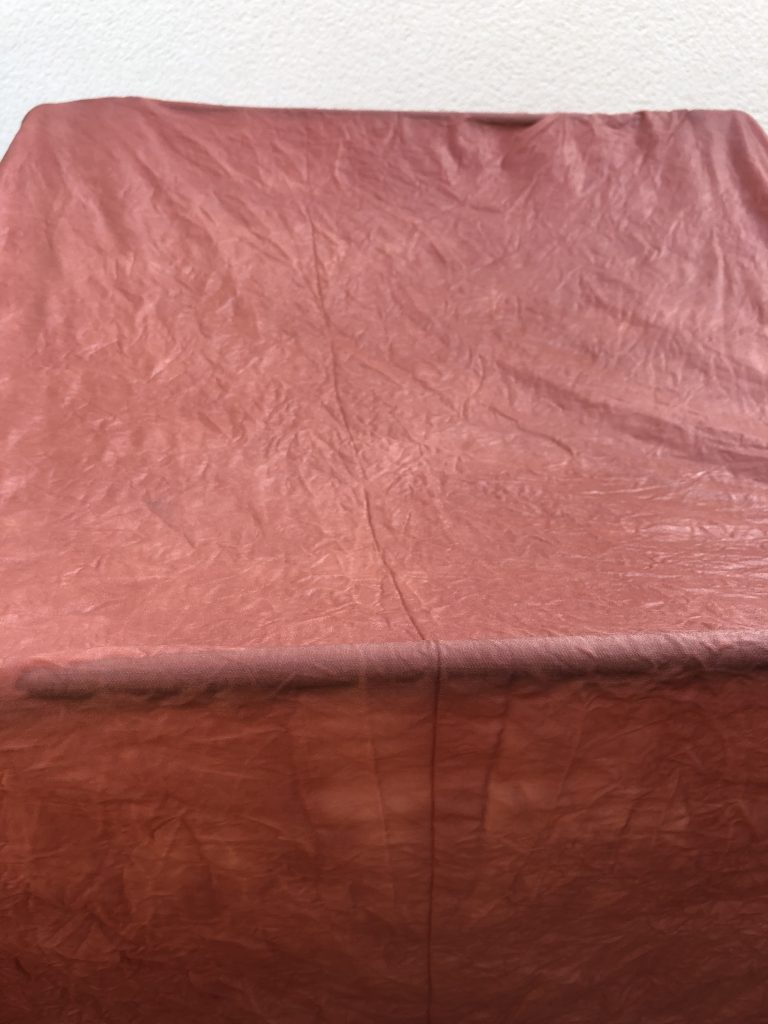
Here is what the fabric and yarn looked like once dry:
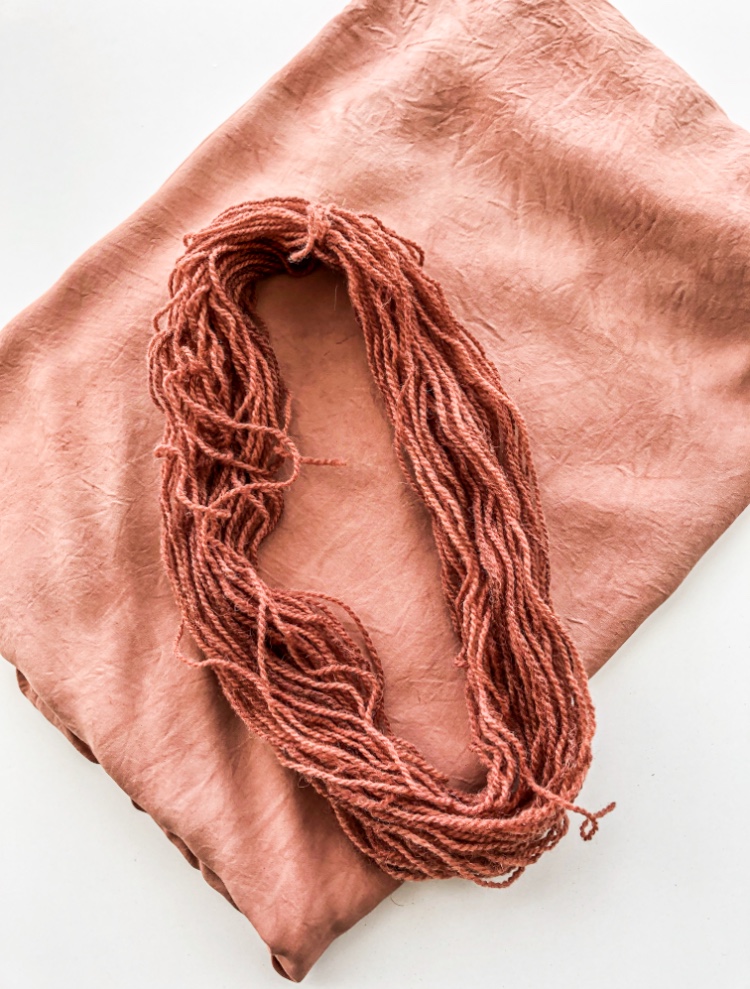
The yarn is 4ply Organic Lleyn Wool and the fabric is Bamboo Silk.
I was really pleased with the darker colour I managed to get on this occasion.
I’m now going to leave the yarn/fabric for a minimum of one week (to allow the dye to bond to the fabric and yarn further) before I make anything with them.
As you have probably guessed from reading this blog, you do need a lot of patience if you want to dye yarn and fabric naturally since the dyeing process can take several weeks in total from prepping the fabric to dye and the time required to dye the materials then let them rest before creating anything with them.
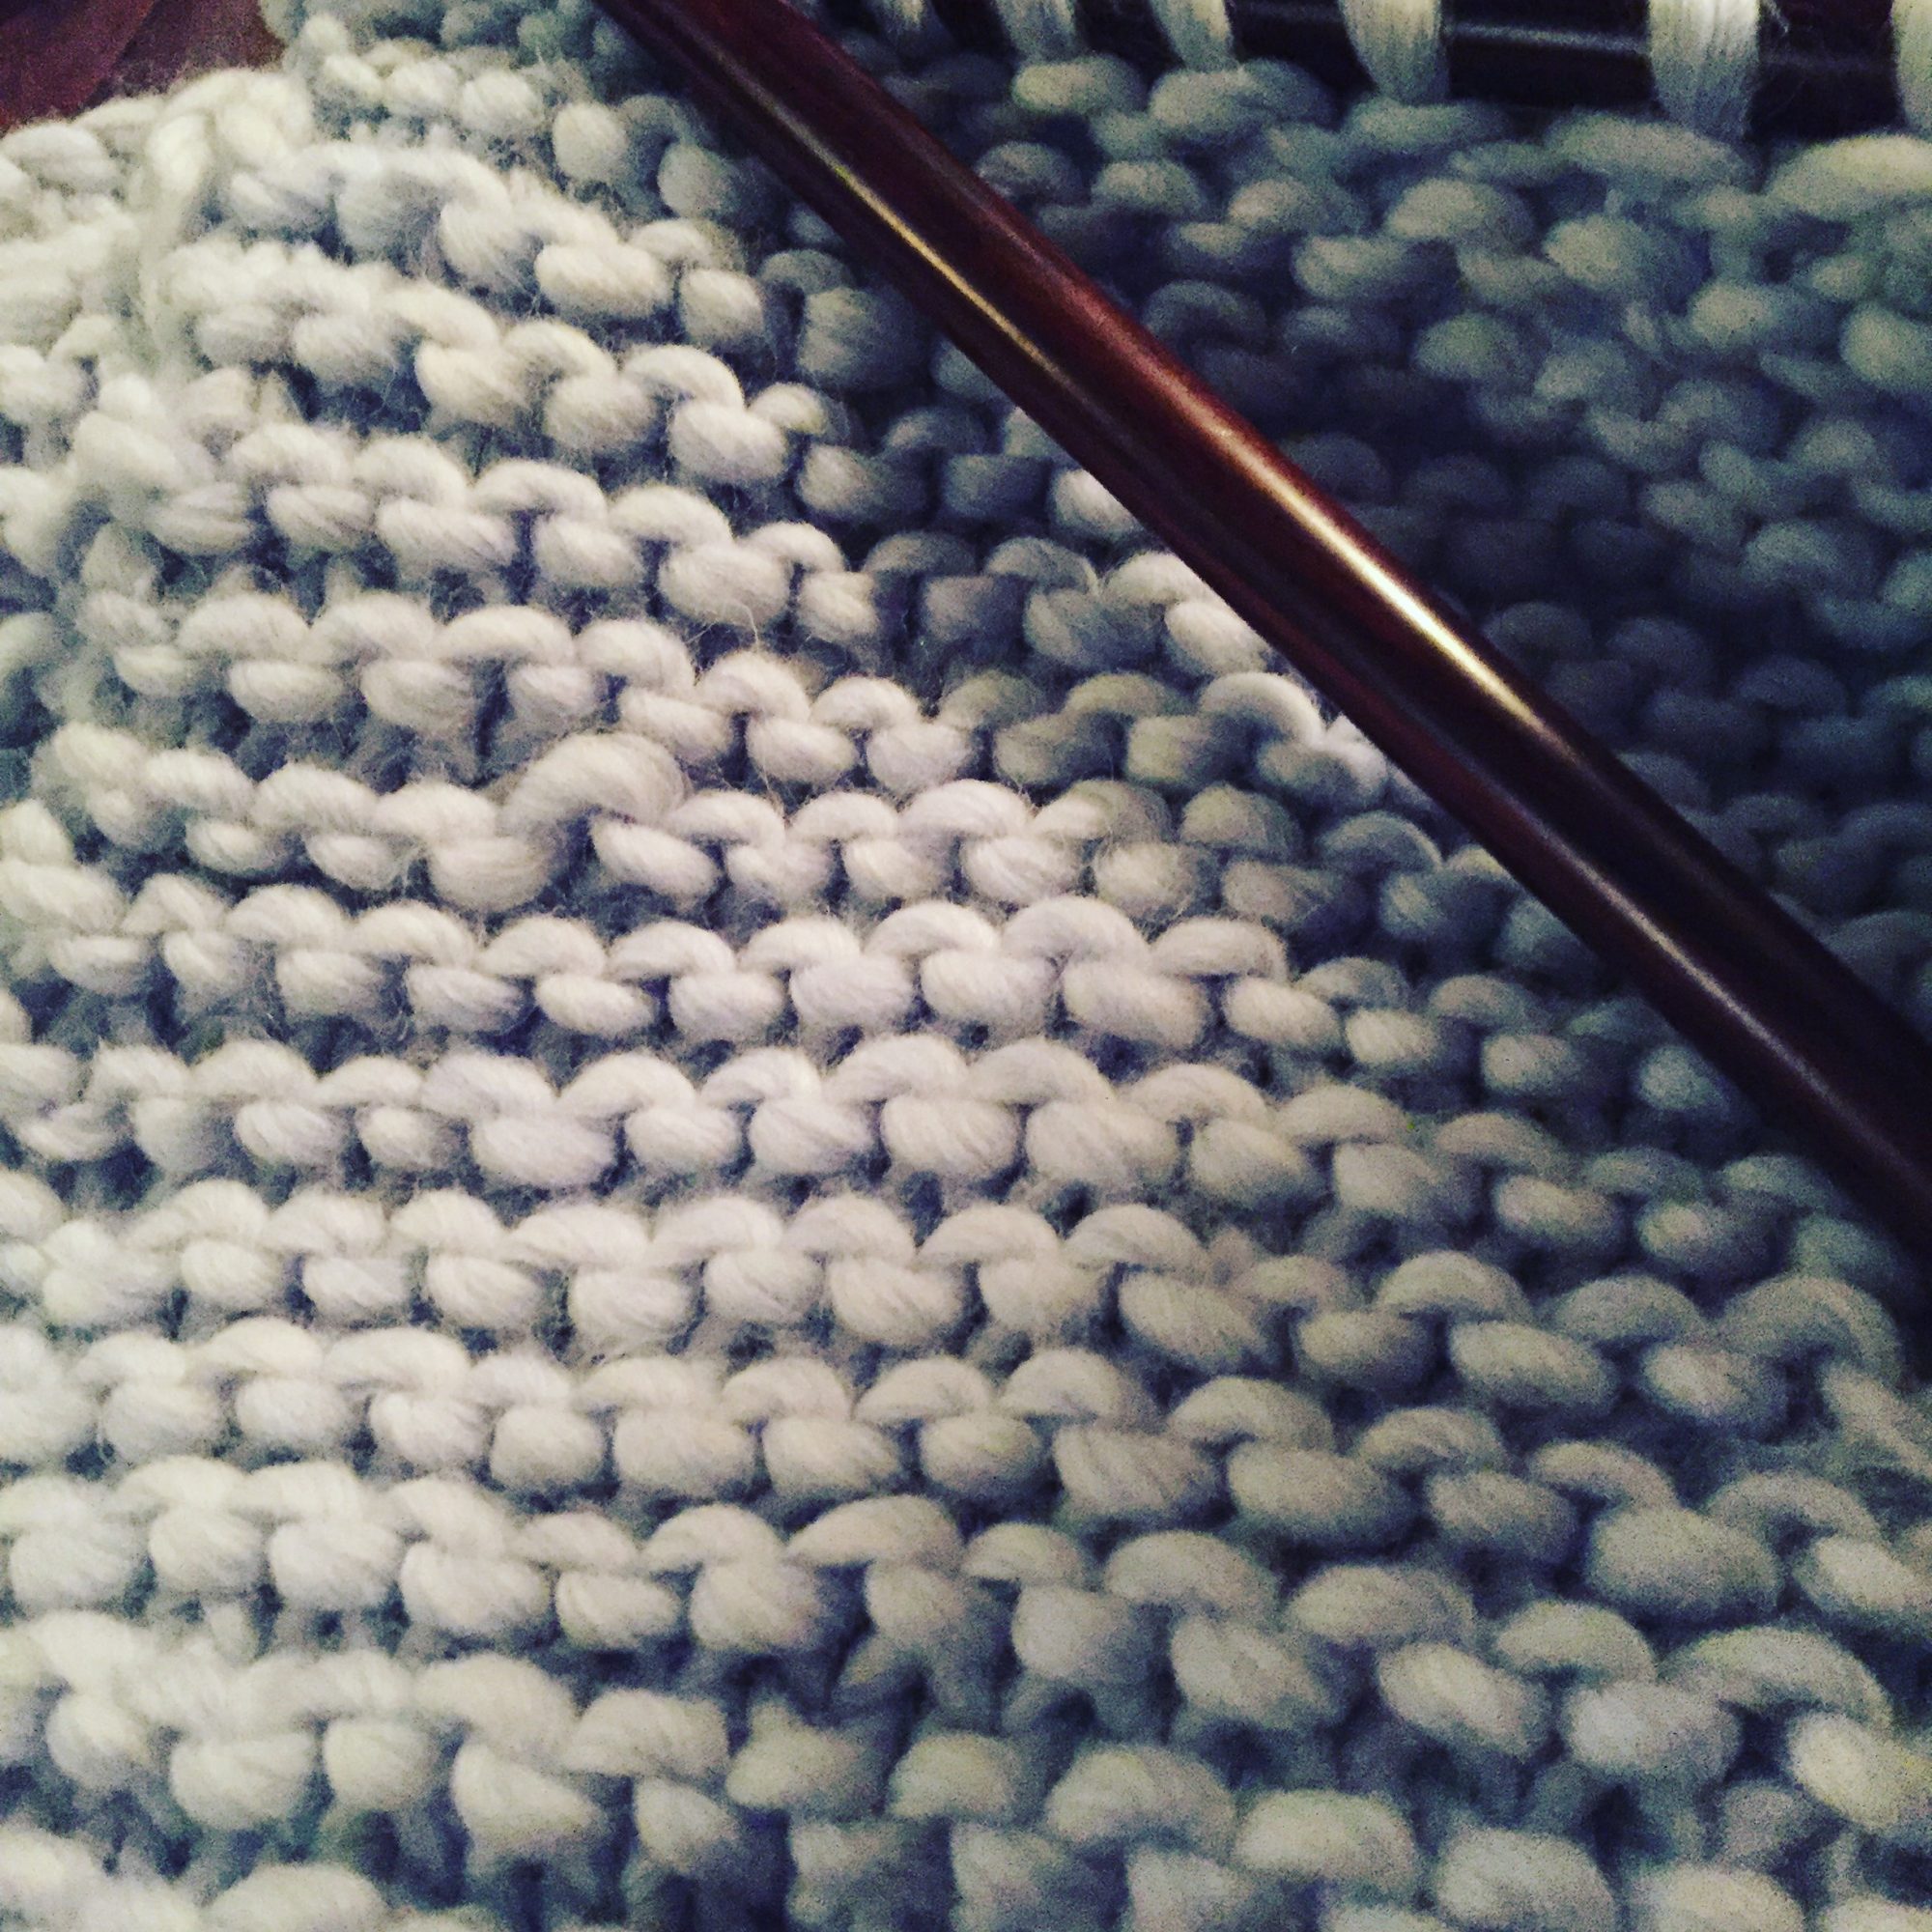
Since I’m a hand knitter, I feel I do have a great deal of patience when it comes to the creative process.
What I love about natural dyeing (apart from the fact it’s 100% natural without any nasty chemicals and experimenting and seeing the final colour results) is the fact I can do bits of it around other things I’m doing on a daily basis.
I can spend some time in the morning, prepping the fabric in soya milk and leaving it for a few days. I can simmer a dye pot for an hour in the evening after dinner and let it cool overnight before starting the next process.
Once you start, you’ll find there are always different parts of the process that can be done throughout the day/week that don’t actually take up a lot time.
I’m looking forward to blogging about what I will be dyeing with next.
If you would like to be updated with what I’m doing with natural dyes, please subscribe to my blog and you’ll receive notifications when I’ve uploaded a new blog.
Alternatively, please follow me on my instagram page @nataliesmartdesigns